Pages

Thursday, 23 February 2012

Monday, 25 July 2011

X-plane 9 Support


Last post was March, blimey...

This weekend I have managed to successfully integrate my Primary 6 flight simulator with X-plane 9.70. Everything now works using a few 3rd party plug-ins from the X-plane community and a beta plug-in from Simkits themselves. I use the following software to control all the switches and gauges within version 9.70.

Software - SVmapper - A free, simple to use, key mapping program that reads the switch presses and turns them into key stroke signals. You can tie a toggle switch to a key press or release (or both).

Get it here:

http://simhq.com/forum/ubbthreads.php?ubb=showflat&Number=2367911&fpart=5

X-plane Plug-in - TRCPlane-14-02-2011 - Simkits's free USB X-plane interface. This is currently in beta but works very well already. It controls the USB turn coordinator.

Get it here:

http://www.simkits.com/cgi-bin/forum/YaBB.pl?num=1289382919

X-plane Plug-in - Simkits_XPL_3.1 - SuperDuif's free X-plane CCU interface - A fantastic plug-in that utilises the Simkits SDK to control all the (old) CCU2 instruments. Couldn't have done anything without this. Thanks SuperDuif.

Get it here:

http://home.kpn.nl/~superduif/simkits.html

X-plane Plug-in - XPSaitek.xpl - A free plug-in by floegl @ xplane.org. I believe this is a better plug-in than the one that Saitek has released. This allows the toggle switch to turn on the Saitek unit something I can't even do with their windows software.

Get it here:

http://forums.x-plane.org/index.php?app=downloads&showfile=10161

Hope these links may be of help to someone.

Sunday, 6 March 2011

Smaller images for website distribution


Almost There!!!


After a year of development, my primary 6 project is almost complete. I say almost beacuse I'd like to add a new Primary 6 logo to the side of the case and have some decals done for switches acting as dummy circuit breakers. These photographs were taken with my own camera. However once it is complete I'm going to get some professional shots taken by our photography department.

This is the second time I have fixed the case and tightened all 36 screws holding the top panel on. The first time was a bit of a disaster. After putting it together I fired it up and after months of working perfectly fine with the top off, the altimeter failed to fire up. I had to take the case apart and the altimeter to see what went wrong. I have a feeling it may go again and run into some calibration problems but...well...we'll see.

Saturday, 12 February 2011

Simkits Turn Coordinator


I've just ordered the last gauge that I need to complete the basic 6 panel. The turn coordinator will hopefully come soon (they said it's in stock and ready to ship) so that I can test it alongside the non USB instruments.

Saturday, 5 February 2011

Soldering the switches and comms panel


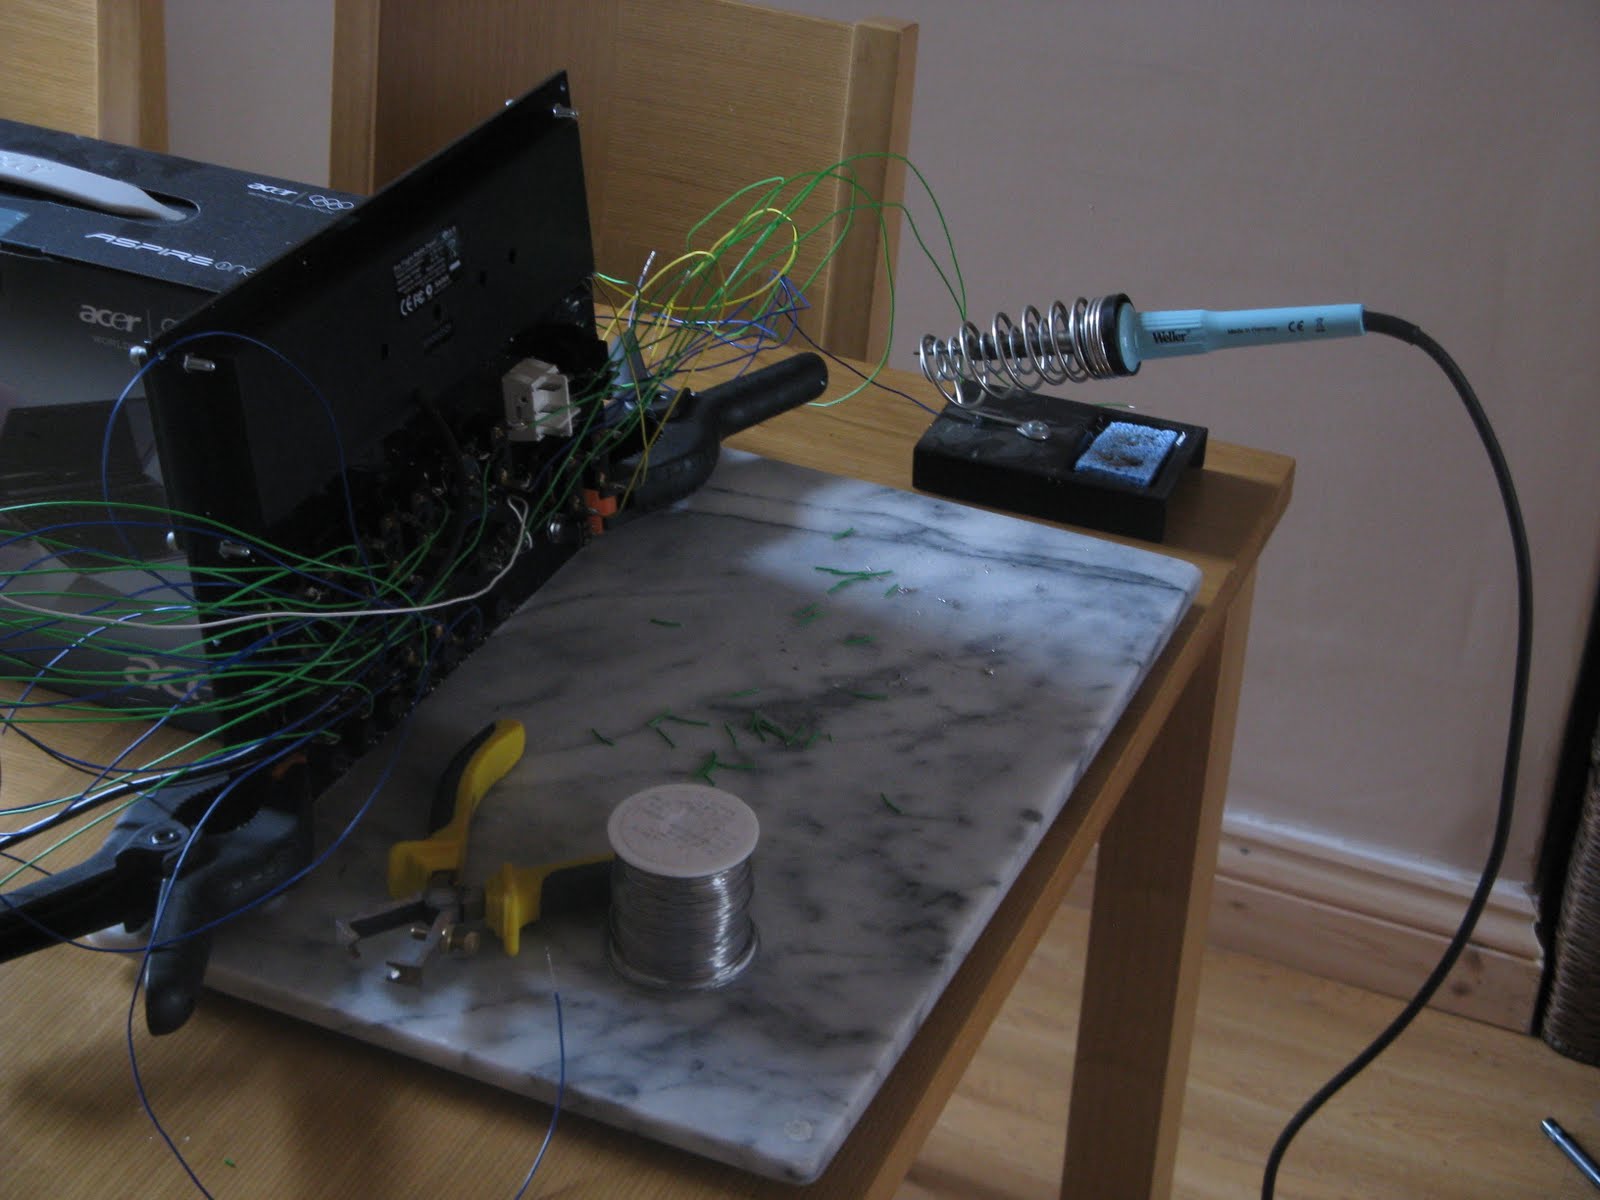
This is asking for trouble! Soldering the switch panel on our dining room table. Thank God my wife is so...forgiving!


Electrical components


I recently installed the electrical components into the chassis. The Simkits CCU2 board, Simkits 32bit controller, PSU and USB hub are now all in place. I've been testing the Simkits gauges alongside the TRC software and FS004 on a spare computer. They need a bit more tweaking to get them correctly calibrated with the TRC software but I'm happy with them so far. I spoke to Peter at Simkits support to ask about compatibility between old CCU2 gauges and the new USB type. Fortunately he says they will work side by side with no problems. That's a relief since I am still missing a turn coordinator which I need to purchase fairly soon if I want to get this completed.


Tuesday, 25 January 2011

Powder coating completed


I'm very happy with the results. The coating company did a great job. The finish looks superb (better than the photographs can show) and it's extremely durable. The paint is RAL9003 Signal White.

Now it looks even more like a microwave..ha ha!

Friday, 14 January 2011

Alu panels being powder coated.

Dropped off the aluminium panels to a powder coating company in Cardiff. I will hopefully have them done by Wednesday at the latest. The only worries I have with this process are: if I flex one of the panels too much the coating will crack. The company told me that there was a bit of play with it. The other problem is that the coating adds thickness and the holes for the 3mm screws will get smaller. I have allowed 1mm for this by using a 4mm drill bit on all the holes but if the coating ends up quite thick then I will have to file them down for the screws to fit.

Friday, 7 January 2011

Some progress.

WOW...when work gets busy it gets busy! Finally restarted the project and made a phonecall yesterday to a comapny that does powder coat painting. How much!?!?!!? Well I kind of knew it was going to be in the ball park of £100 for setup costs but I thought as it was private work they may make an exception and charge me less. I may give another company a ring to see if it gets any cheaper. I doubt it though. It has to be done.

Sunday, 10 October 2010

Case almost complete.


A couple of photographs of the case which is almost complete. I need to cut some of the threaded rod at the back and take some burr off with a file (is that how you spell it?). The PSU doesn't quite match up with the holes on the rear panel (bugger) but it's not out by a massive margin so I just need to file them a little bigger. But everything else fits just fine so once I've done these odd little jobs, it's off to get powder coated. If they can do it.... hopefully.... I'm a little worried about that one!

Thursday, 23 September 2010

Final two pieces of the puzzle.


Fingers crossed these are the last 2 pieces that will be cut tomorrow at the routing services company in Newport. I wanted to get this done as quick as possible since it will be full steam ahead for the Ryder Cup build up next week. The company is very near the Celtic Manor so traffic next week will be really busy.

I've had a slight design change of the air intake that will hold the fan. It now has less holes and they are spaced more closely together, hopefully this will help the airflow.

Last stage....(thank the Lord!!!) after having these cut will be to get the aluminium sheets powder coated.

I have set myself a deadline of October the 12th to have this project finished. The students start the new term on that date and I won't have any more time to work on it. So lets hope nothing unforeseen happens to it before that date.

Thursday, 16 September 2010

USB Hub, UK PAT Testing, Fan....of the computer kind!

I just bought a D-link 7 x USB Hub to go in the case. I hope to pick it up tomorrow. I actually only need 4 ports, 1 for the CCU2, 1 for the Saitek Radio, another for the Simkits 32input controller and one more for a USB Simkits turn coordinator. But I figured that at some point I may want to upgrade to all USB instruments in the future and if I buy 2 of these D-link Hubs I will have enough to run all the neccesary hardware. Fingers crossed that I can run a USB instrument and CCU2 board together. I need to speak to Simkits to make sure that is possible.

A colleague has very gratefully offered to PAT test the Primary 6 Flight Simulator once it is completed. We have the machine at work and I am hoping to pass it with a current UK electrical certificate to make sure it is safe to use and that it won't turn me to ashes!!! Result!

I have completed within CAD to design a fan air intake for the case. I've been a bit concerned that the PSU may get a little hot when running so just in case I have added a 120mm fan at the back to cool everything down and allow for some flow of air. I noticed that Simkits have a grill in the back of their TRC472 for some air flow. I thought I better be safe than sorry.

Saturday, 4 September 2010

Logo Design


I designed this new logo to put on the case once it has been painted. I was looking for a simple, clean design. The orange 6 is meant to represent a spiral off an aircraft engine spinner. I think it works quite well.

You may have noticed I have changed my blog to suit the new logo.

Machines

Some people have asked me about what machines I have been using. Here are some photos. I'm very lucky to have the use of these magnificent machines in my workplace. I work in a completely different department so it's a bit of baptism of fire. But I've learnt alot already.

This red one is metal cutter, and the other on is a metal folder.

Pedal to the Metal


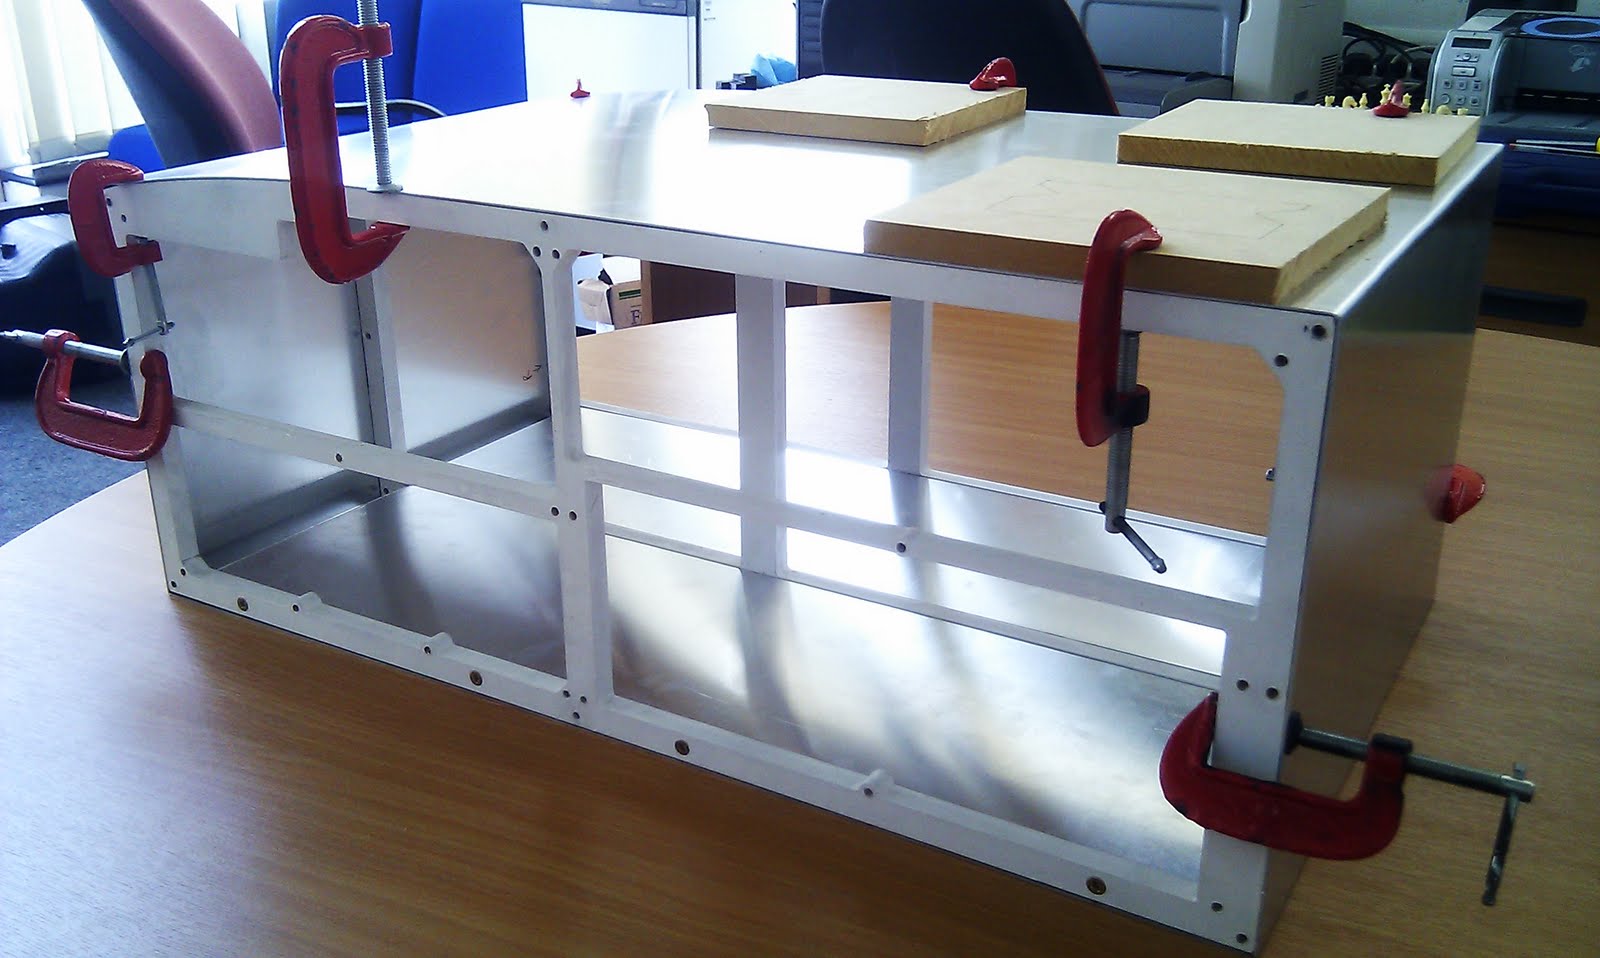
I've made some great progress with the case in the last few days and I'm quite pleased with the results so far. I bought some aluminium sheet (2000mm x 1000mm x 1.2mm thickness) from a company in Cardiff. It was only £35! Bargain.

I used our metal cutter in work (very impressive machine - chops throgh sheet metal like a hot knife through butter ) to cut all the pieces to size. I then used a metal folding machine to bend the pieces at right angles so that it can be "pinned" to the MDF frame. (I am going to use 3mm machine screws to hold it all in place.

I have also designed 2 more pieces in CAD to fir the front and rear of the case. I made the outer edges 1.2mm thick so that it will be flush (fingers crossed) with the pieces on top and on the bottom. These two extra pieces need to be routed by InStyle routing services.

Next stage after this is to get the aluminium sheets powder coated white.

Oh and by they way you may have noticed that the MDF has now been painted with 2 coats primer. I used a small cheap roller to put the paint on evenly. It's not the best finish but these struts will never be seen anyway...so who cares.

If I was going to do this project again I would make the three struts out of aluminium. Not because it doesn't have strength, but because it would have looked much more like a real product rather than a project...if you get what I mean? I must admit the threaded rods are complete overkill, I could have got away with leaving them out. Oh well. It ain't going to fall apart, that's for sure.

Friday, 27 August 2010

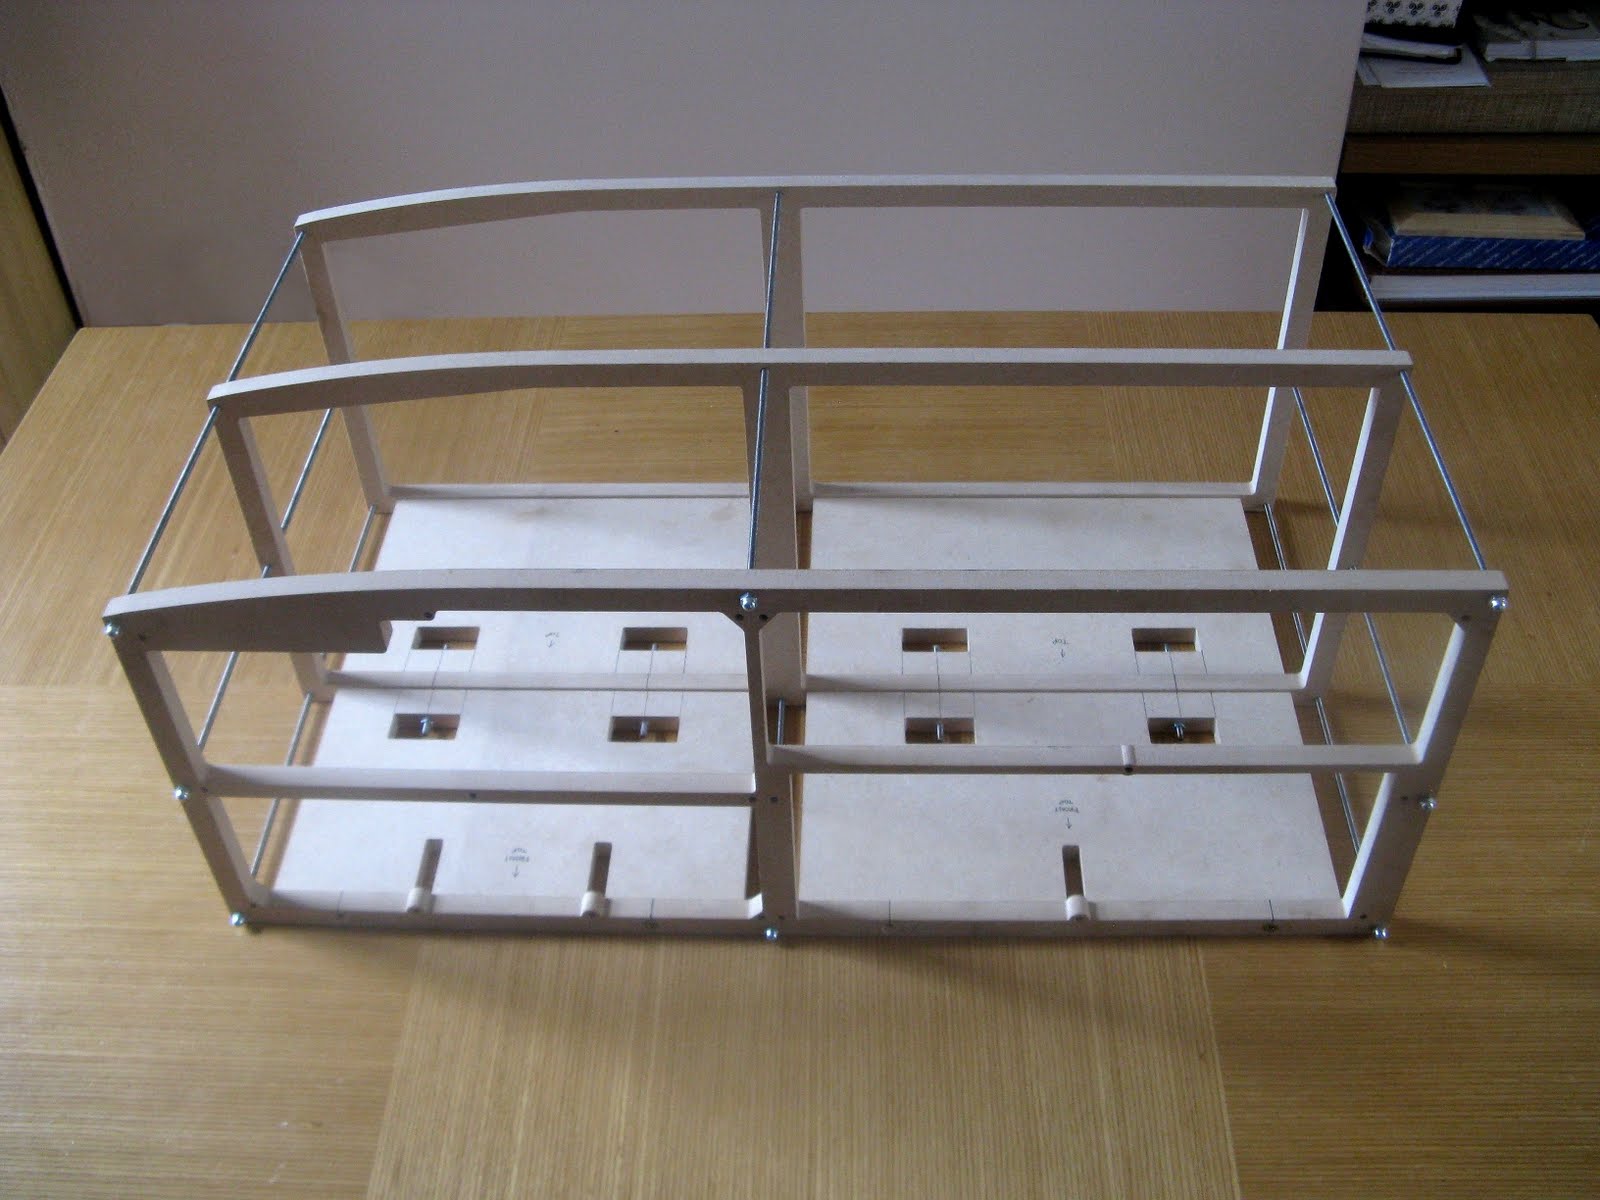
The BONES of my simulator!


Just completed cutting the last piece of threaded rod with my angle grinder...I mean... my Dad's angle grinder. Have to buy one of my own one of these days. Next stage for the case is to paint it with some MDF primer and then paint it white. I bought one of those value paint rollers from B&Q that can use and then chuck after I have finished with it. I used the same method when applying paint on my last simpit and it worked really well. I have to source some 1mm thick aluminium sheet to go over the top and use the sheet metal folder in work to drape it over the top of the skeleton.

Friday, 20 August 2010

Radio and switches panel almost complete!


Windows 64bit and Simkits TRC software compatability

Well... that was a bit of a shock! I discovered yesterday when trying to run Simkits's TRC software with the old CCU2 circuit board that 64bit is not supported. Hence why they moved to USB instruments. There is absolutely no way I can re-buy all the instruments so my best option is to buy an OEM copy of Windows 7 32bit and dual boot it with my 64bit copy. I am hoping to achieve this on a second partition ans using NeoSmart technologie's EasyBSD software to rename the boot selector to read Primary 6 Desktop Flight Simulator at the boot screen. I will probably have to also buy a new copy of FSX (groan) to go with it. Not a major problem...but... bugger.... all the same! To think I was telling one of my colleagues that nothing has gone "stupidly wrong" so far. Obviously I spoke too soon.